In an age where our smartphones can capture 4K video in low light and AI can retouch faces in milliseconds, a strange paradox has emerged: we are more obsessed than ever with the blurry, slow-developing, and chemically imperfect square photos of the past.
Why do we crave the "Polaroid aesthetic"? Perhaps because digital perfection often feels sterile. An instant photo—whether it’s a physical print developing in your hand or a carefully crafted digital recreation—feels raw, authentic, and singular. It captures a memory, not just data.
This guide is your definitive resource. Whether you have just unboxed a vintage Polaroid 600, are debating buying a Fujifilm Instax for a wedding, or simply want to use a Polaroid generator online to give your digital photos that soulful vintage vibe, we will decode the mechanics, the art, and the soul of instant photography.
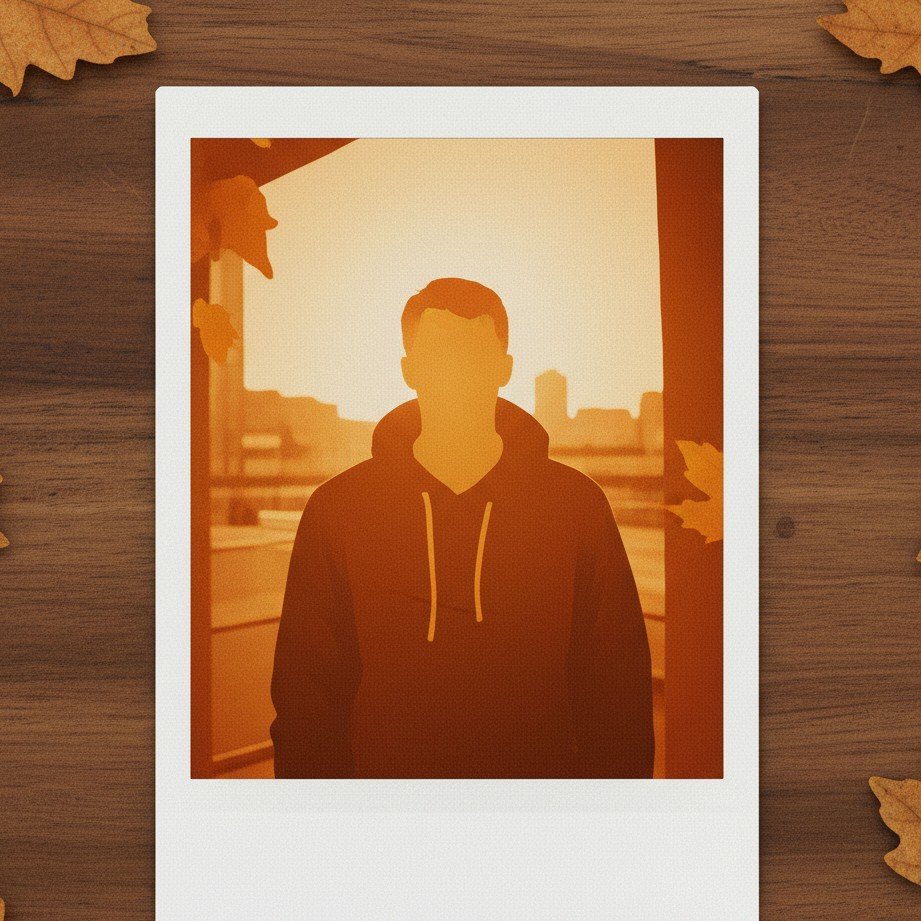
1. Understanding the Ecosystem: Which Camera Should You Buy?
For beginners, the instant photography market is effectively split into two major camps. Your choice here determines not just your camera, but your ongoing costs and artistic style.
The Polaroid Camp (The Artist)
If you are chasing the original, dreamy, "vintage" look, this is it.
- The Vibe: Polaroid film has a specific chemical signature—warmer tones, softer focus, and a bit of unpredictability. It feels like a painting.
- The Reality: It is an investment. Each shot costs approximately $2.00, and development takes 10-15 minutes.
- Best For: Artists, creative experimenters, and those who prioritize "mood" over sharpness.
- Gear Recommendation:
- Polaroid Now+: The best modern entry point. It connects to your phone for manual control (double exposure, light painting).
- Vintage 600: Refurbished cameras from the 90s. High "cool factor," but be aware that 30-year-old plastic gears can be fragile.

The Fujifilm Instax Camp (The Realist)
If you want photos that are sharp, reliable, and develop before your eyes.
- The Vibe: High contrast, true-to-life colors, and very sharp. It looks more like a standard photo, just smaller.
- The Reality: It is wallet-friendly. Shots cost about $0.75 - $1.00, and they develop in roughly 90 seconds.
- Best For: Parties, weddings, travel diaries, and beginners who hate the heartbreak of a wasted shot.
- Gear Recommendation:
- Instax Mini 12: The gold standard for simplicity. Perfect exposure almost every time.
- Instax Mini Evo: A hybrid camera that lets you preview the photo on a screen before you print it—a massive money saver.
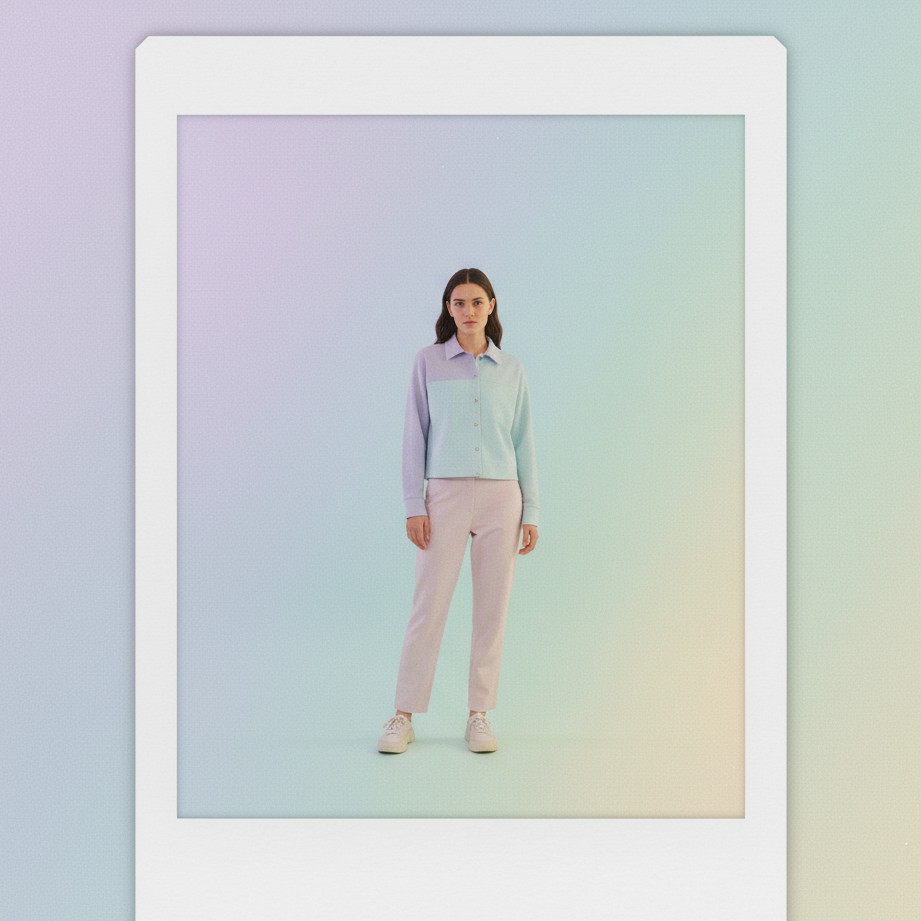
2. Film Types Explained: Don't Buy the Wrong Pack
One of the most common mistakes beginners make is buying the wrong film. Unlike digital SD cards, film is specific to the camera.
- i-Type vs. 600 Film: This is the biggest source of confusion.
- 600 Film: Designed for vintage cameras. The film cartridge contains a flat battery inside it to power the camera.
- i-Type Film: Designed for modern cameras (like the Polaroid Now) which have rechargeable batteries. This film has no battery and is slightly cheaper. Do not put i-Type film in a vintage camera; it won't turn on.
- SX-70 Film: A low-ISO film strictly for the classic folding cameras. It needs bright sunlight to function.
- Instax Sizes:
- Mini: Credit card size. Great for wallets and phone cases.
- Square: The classic 1:1 format (similar to Polaroid but smaller).
- Wide: Twice the width of a Mini. The best format for group shots and landscapes.
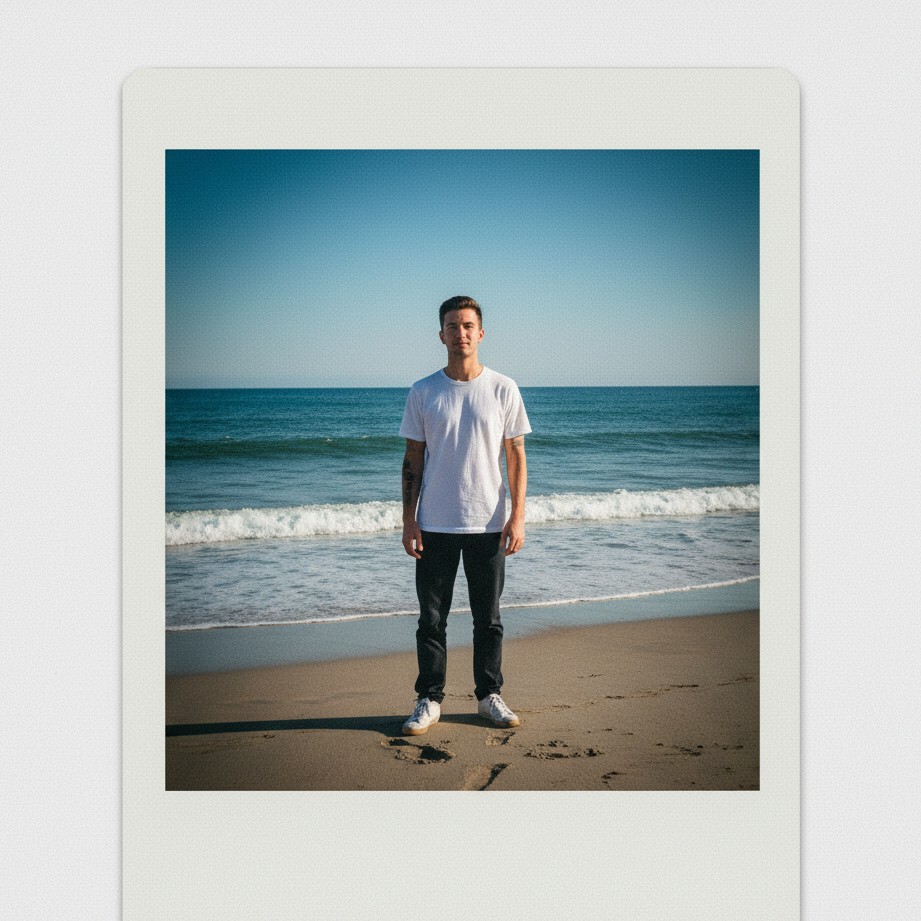
The "Fridge Rule" (Storage 101): Unopened instant film is a living chemical product. Heat will spoil the emulsion, turning your photos pink or orange. Always store your film packs in the fridge (not the freezer). When you're ready to shoot, take them out an hour early to let them return to room temperature.
3. Technical Mastery: How to Avoid "Black" Photos
Instant film has a very low "dynamic range" compared to your iPhone. If you treat it like a digital camera, you will end up with underexposed, dark photos. Here is how to shoot like a pro:
Light is Life (The Indoor Rule)
Our eyes are amazing at adjusting to dim light; film is not.
- The Rule: If you are indoors, turn the flash on. Always. Even if it looks bright in the living room, it is likely too dark for the film. Without flash, your background might be visible, but your subject will be a blur.
- Outdoors: Shoot with the sun behind you. If the sun is behind your subject, they will become a silhouette.
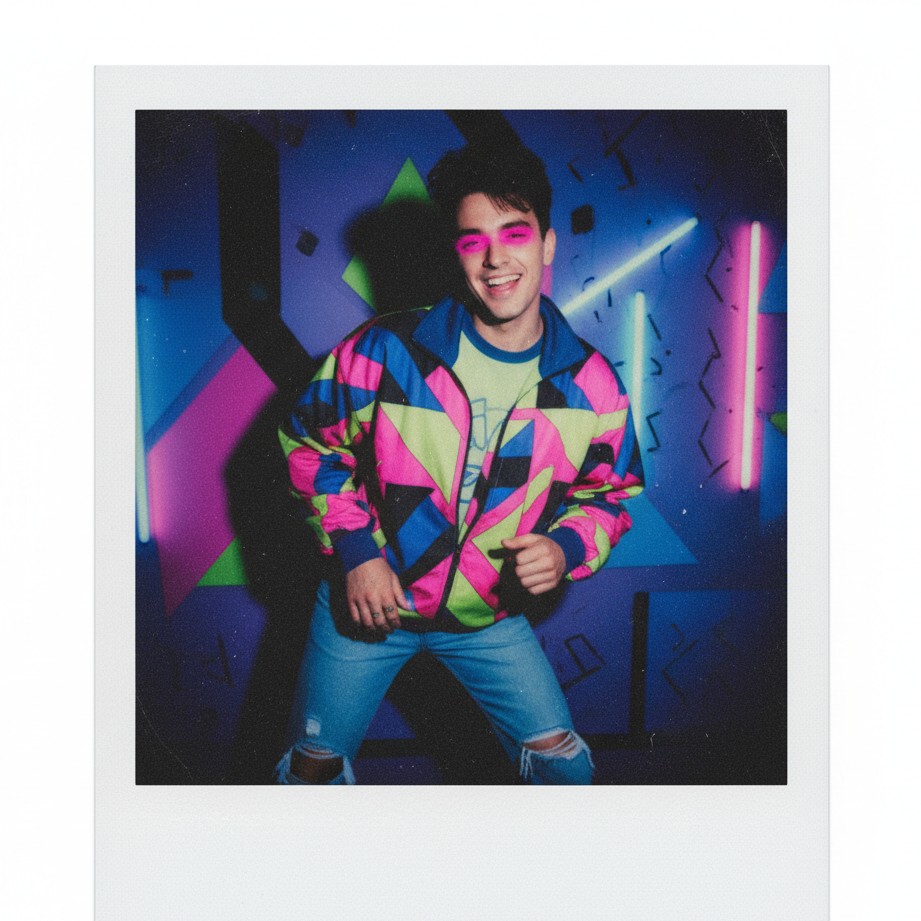
Temperature Affects Color
The developing process is a chemical reaction that changes speed based on heat.
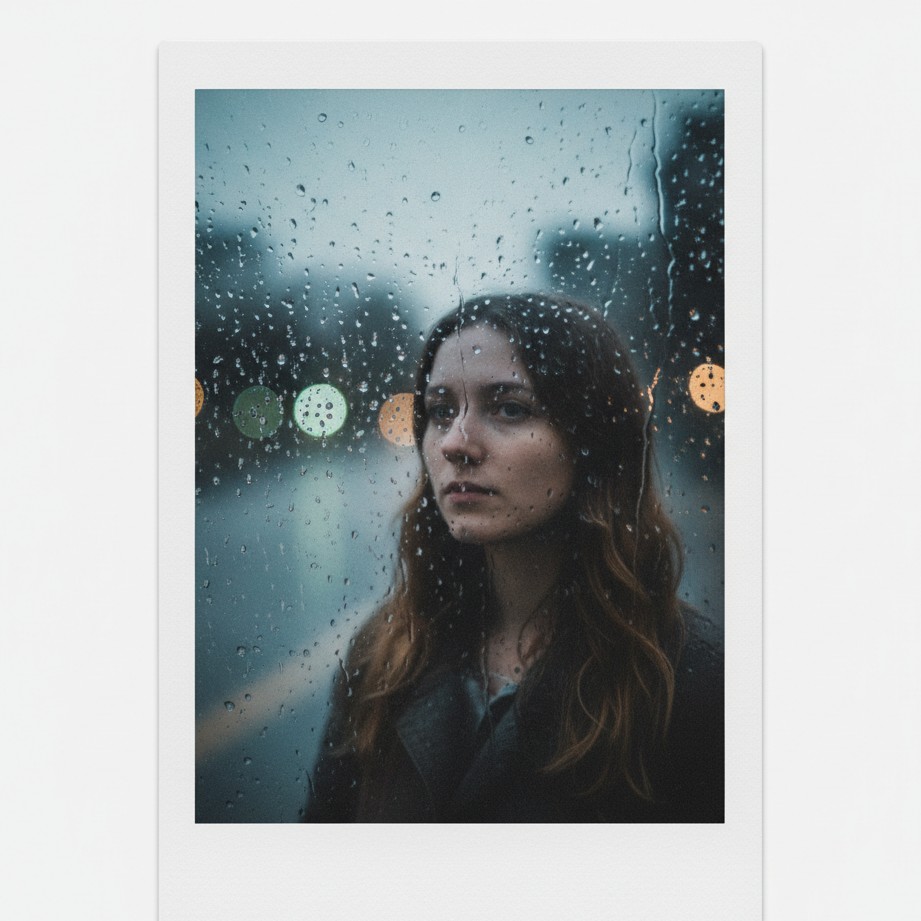
- Too Cold (< 55°F / 13°C): The chemical reaction slows down, resulting in blue/green tints. Fix: Immediately place the developing photo in a warm pocket close to your body heat.
- Too Hot (> 82°F / 28°C): The reaction speeds up, causing red/orange tints. Fix: Keep your camera and developing photos in a cool bag.
The Parallax Error (Why your photo is off-center)
On most instant cameras, the viewfinder (the hole you look through) is slightly to the left or above the actual lens.
- The Fix: When taking a close-up (arm's length or closer), aim the camera slightly up and to the right of your subject. This compensates for the offset.
Myth: Shake it like a Polaroid Picture?
No! Despite the song lyrics, shaking the photo can separate the drying emulsion layers, causing blobs or blurriness.
- The Truth: The best way to develop a photo is to lay it face down on a table or put it in a dark pocket. Light is the enemy during the first few minutes of development.
4. Composition & Posing: Framing the Perfect Shot
Since every click costs money, "spray and pray" isn't an option. You need to make every frame count.
The Golden Rule: Fill the Frame
The film is small. If you take a full-body shot from 10 feet away, your friend's face will be the size of a pinhead. Get close—arm's length to 4 feet is the "sweet spot."
5 Classic Instant Photo Poses
- The "Flash Blind" (High Contrast): Look directly at the lens, chin slightly down. The harsh flash on the face creates a "celebrity caught by paparazzi" vibe that is very trendy.
- The Prop Interaction: Holding something solves the awkward "what do I do with my hands" problem. Hold a coffee cup, cover one eye with a flower, or adjust your sunglasses.
- The Mirror Selfie: A staple of the genre.
- Critical Tip: You must turn off the flash or cover the flash bar with your finger. If you don't, the flash will bounce off the mirror and result in a giant white starburst that ruins the photo.
- The Candid "Look Away": Don't look at the camera. Look at your friend, or laugh at something off-frame. Instant film loves movement and genuine emotion.
- Double Exposure (Advanced): Some cameras (like the Polaroid Now+) allow you to overlay two images. Try shooting a silhouette of a person against a bright sky, then shooting a texture (like flowers or neon lights) to fill in their shadow.
5. Troubleshooting: The Art of Glitch Aesthetics
Sometimes, a "failed" shot is actually a masterpiece. Understanding the flaws helps you appreciate the medium.
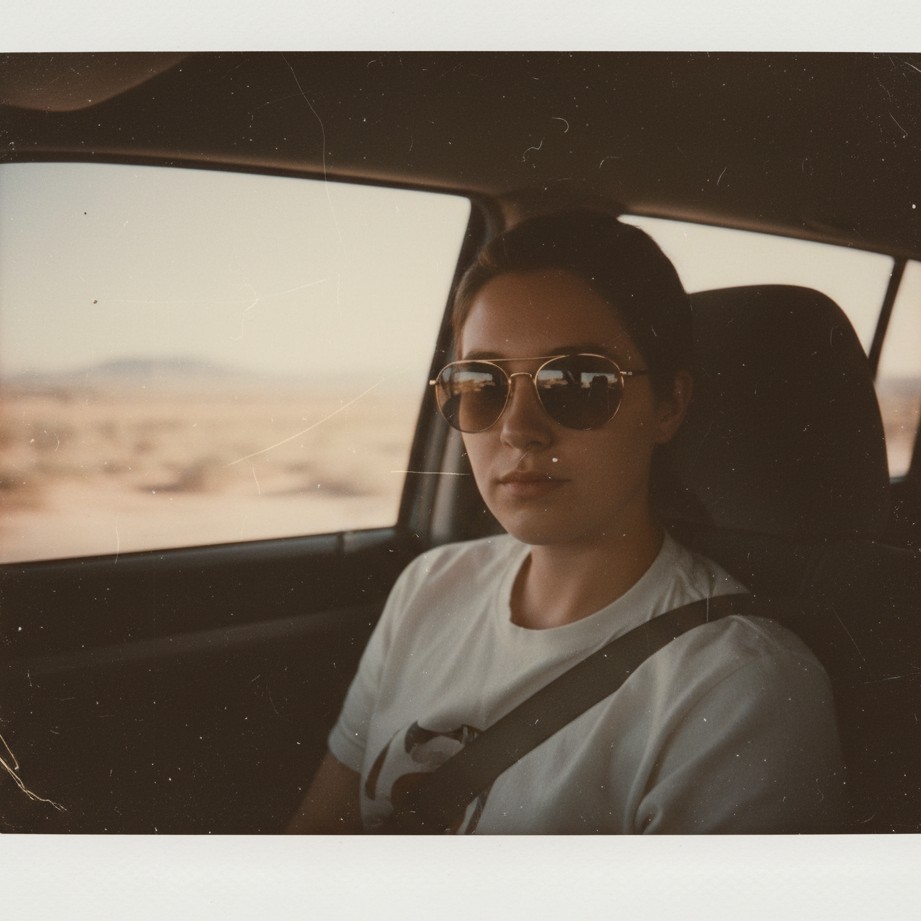
- Blue/White Flame Marks (Opacifier Failure): This looks like white fire at the bottom of the photo. It happens when the rollers don't spread the chemicals perfectly, letting a tiny bit of light leak in. It’s iconic.
- Vertical Roller Marks: If you see repeating dots or lines down the photo, your camera's rollers are dirty. Clean them with a cotton swab and water.
- Light Leaks: Random streaks of orange or red. It means light got into the film pack (maybe you opened the film door?). In the digital world, people pay for filters that mimic this!
6. Display & Storage: Don't Let Memories Fade
Your photo is a physical object that reacts to the environment. It will fade if not treated right.
The 30-Day Drying Period
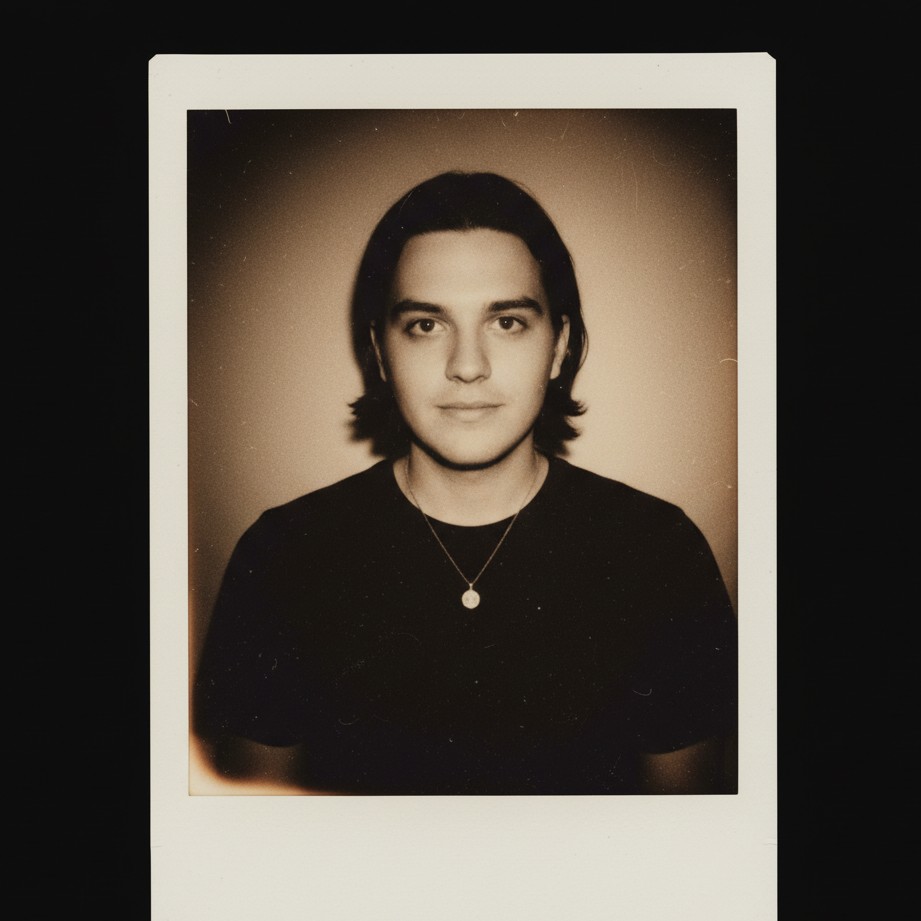
Even when the image appears, the chemicals underneath are still drying for about 30 days. During this time, keep them in a well-ventilated area and strictly away from direct sunlight.
Creative Display Ideas
- Fairy Light Strings: Use mini wooden clips to hang photos on LED string lights. This is the classic "cozy bedroom" aesthetic.
- Transparent Phone Case: Slip your favorite Instax Mini into the back of a clear phone case. It’s a great conversation starter.
- The "Wall Grid": Use washi tape (which won't damage paint) to create a geometric grid of photos on your wall.
- Scan & Archive: Physical photos can get lost. Use a scanner or a scanning app to create high-res digital backups.
7. The Digital Solution: Using a Polaroid Generator Online
Let’s be honest: carrying a bulky camera isn't always practical. Maybe you traveled light, maybe you don't want to spend $20 on film for a casual dinner, or maybe you have a perfect photo in your Camera Roll that you wish was a Polaroid.
This is where the digital workflow bridges the gap.
Why use a Generator?
- Trial & Error: Test how a composition looks in a square frame before wasting real film.
- Social Consistency: Give your entire Instagram feed a unified, vintage aesthetic.
- Saving "Bad" Photos: A blurry or grainy digital photo often looks better when converted to a Polaroid style because the aesthetic embraces imperfection.
What makes a GOOD Generator?
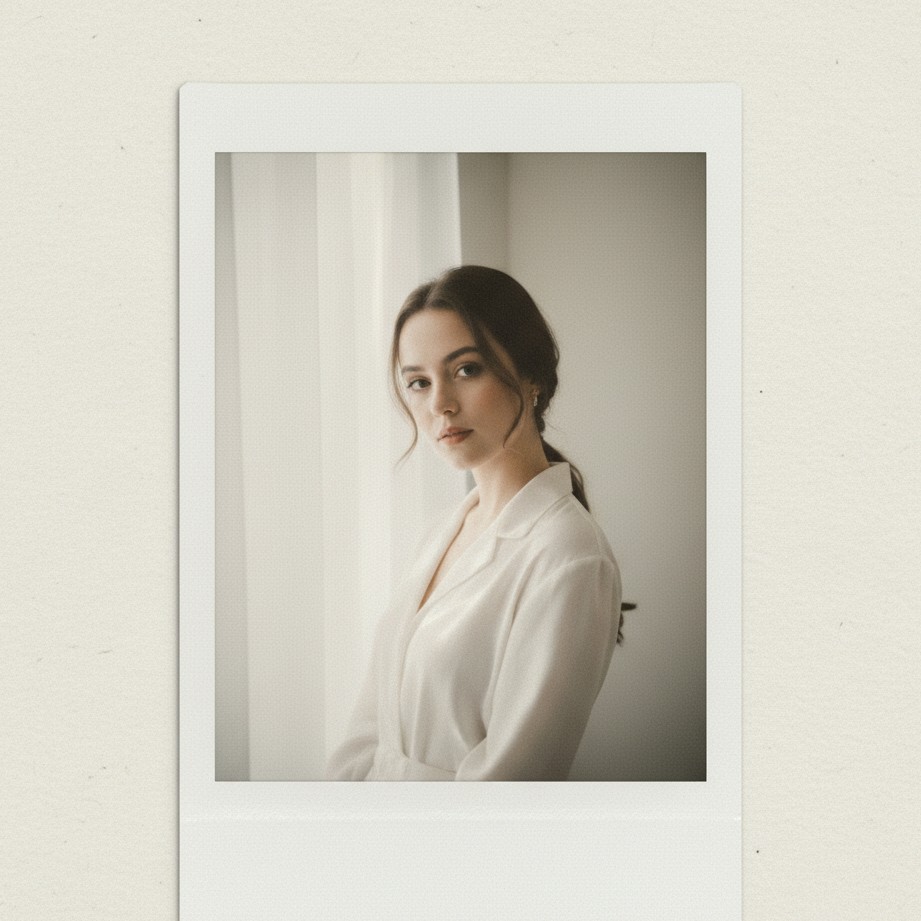
Most free apps just slap a white white border on your image. That looks fake and "flat." A true instant film simulation must include:
- Texture: The subtle paper grain of the physical print.
- Chemical Shifts: The way instant film crushes shadows and turns highlights creamy.
- Optical Defects: Realistic light leaks, slight vignettes, and soft focus.
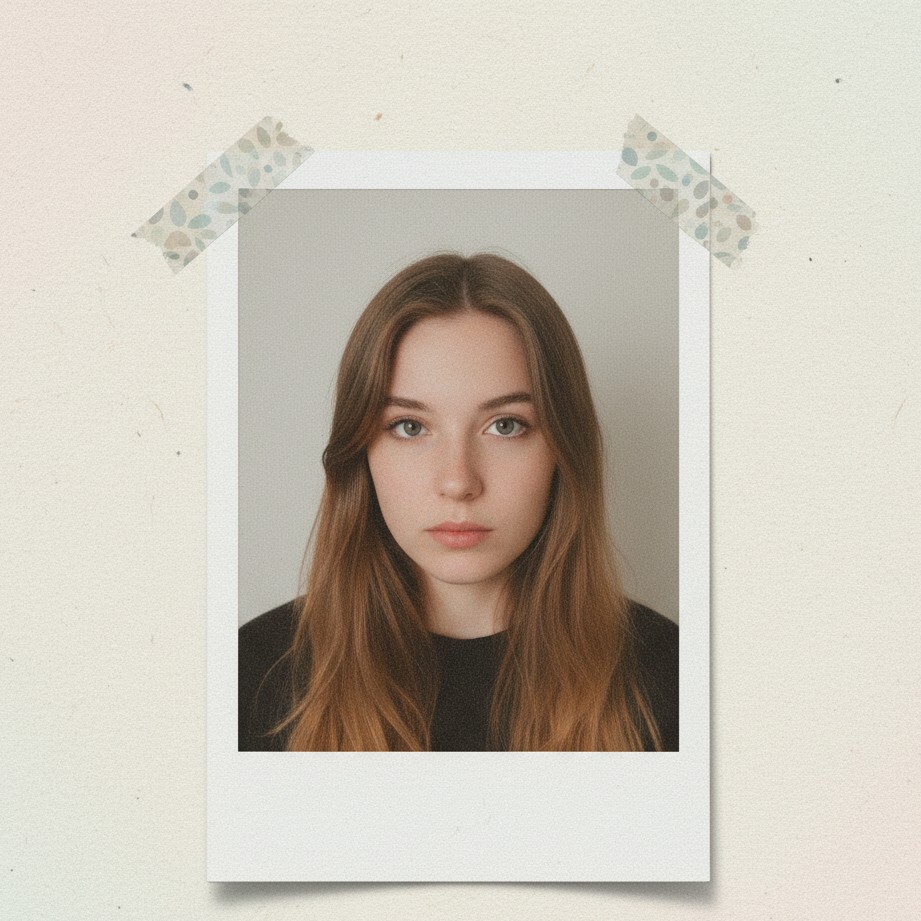
Recommendation: SceneYou.art
If you are looking for a tool that goes beyond simple filters, SceneYou.art is the current benchmark for Polaroid generator online tools.
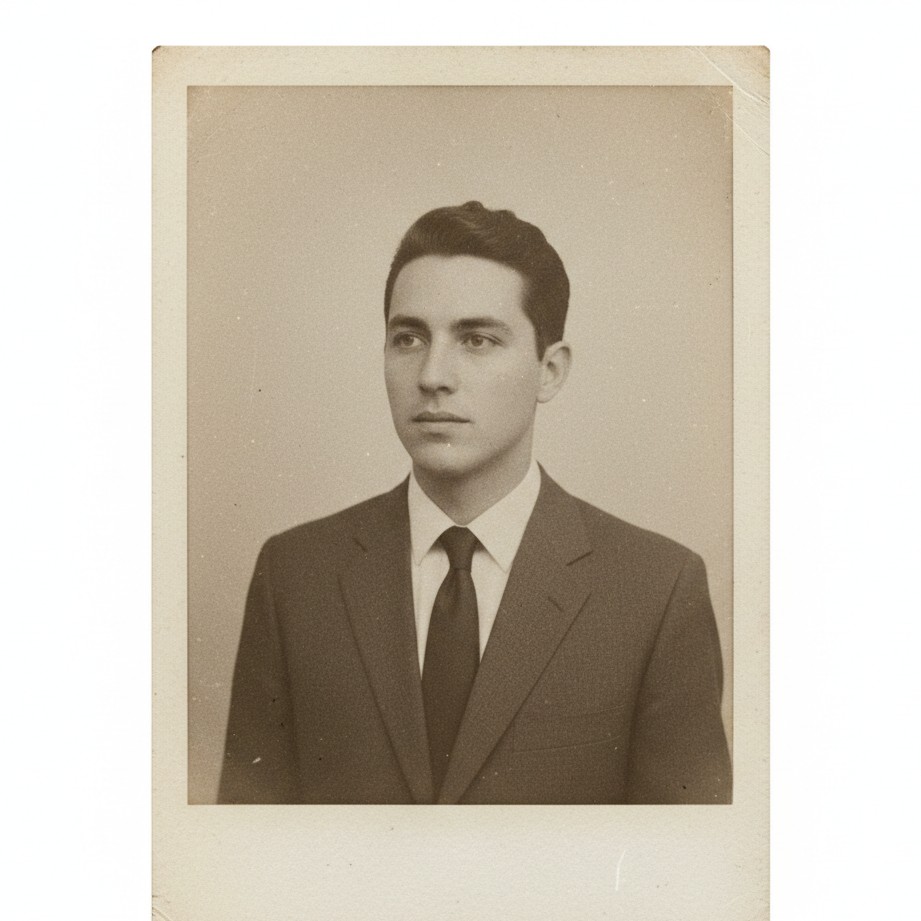
Unlike basic template apps, SceneYou functions as an AI Personal Photographer. It doesn't just add a frame; it re-renders the lighting and texture of your image to match the physics of analog film. It can even take a standard, flat smartphone photo and inject the depth, grain, and "soul" of a vintage 600 film shot. It is the perfect way to test the aesthetic or create a high-quality digital archive of memories that look and feel like the real thing.
Conclusion: Focus on the Moment
Whether you are waiting 15 minutes for a physical photo to develop in your hand, or you are carefully curating a digital memory using a generator, the goal is the same: to cherish the moment.
Don't get too hung up on whether you have the most expensive camera. The best camera is the one you have with you, and the best photo is the one that makes you feel something.
Ready to experiment with the instant aesthetic without the cost? Try SceneYou.art and transform your digital gallery into a retro masterpiece today.
Ready to publish?
Make your photos look instantly iconic
Upload one photo and let SceneYou recreate authentic instant-film texture, borders, and light leaks in seconds.